


Transform your garment into a knit Pōhutukawa Dress with this tutorial. Crushed velvet dress, anyone?
Thank you to Rachel Slimmon for creating this tutorial for our Pōhutukawa Dress lovin’ Below The Kōwhai community.
To see more of Rachel’s beautiful sewing visit @royalrabbitcreations on Instagram.

The longest part in a woven to knit transformation is changing your pattern and making sure you get your fit right. I always make the pattern in woven first so I know if there is any fit issues and I can feel what wearable ease the pattern has.
Choosing the Right Fabric
I have chosen to use this gorgeous Double Brushed Poly. It has 80% horizontal stretch and 50% vertical stretch and is so deliciously soft. DBP is one of my favourite fabrics to wear.
Choosing the Right Size
I have a bust measurement of 99cms. If making a Pōhutukawa in woven I would make a size 14. The finished garment measurements are 105cm.
I have chosen to sew a knit size 10 with the finished garment measurements of 95cms giving me negative 4cm ease. This is enough to give me a fitted look without being too clingy all over the body.
I have opted to keep the length of both the dress and the sleeves as a size 14 as I am 173cms which is taller than the drafted height.
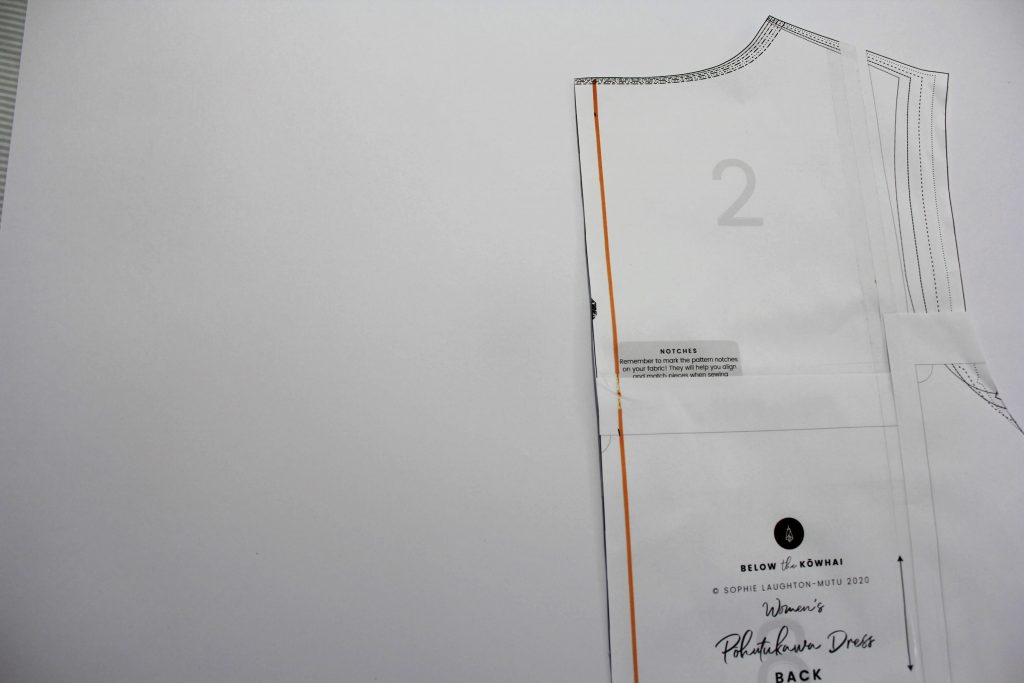
Prepare the Pattern Pieces
Pleat Out Your Dart
1.
Draw 2 parallel lines from the outer edge points of the darts across to the middle fold line.

2.
Fold the pleat out by matching the lines up

3.
Tidy up the side seam to remove the point at the edge of the dart.

4.
Use a ruler to create a line from the tip of the armscye to evenly meet the side seam.

Sleeves
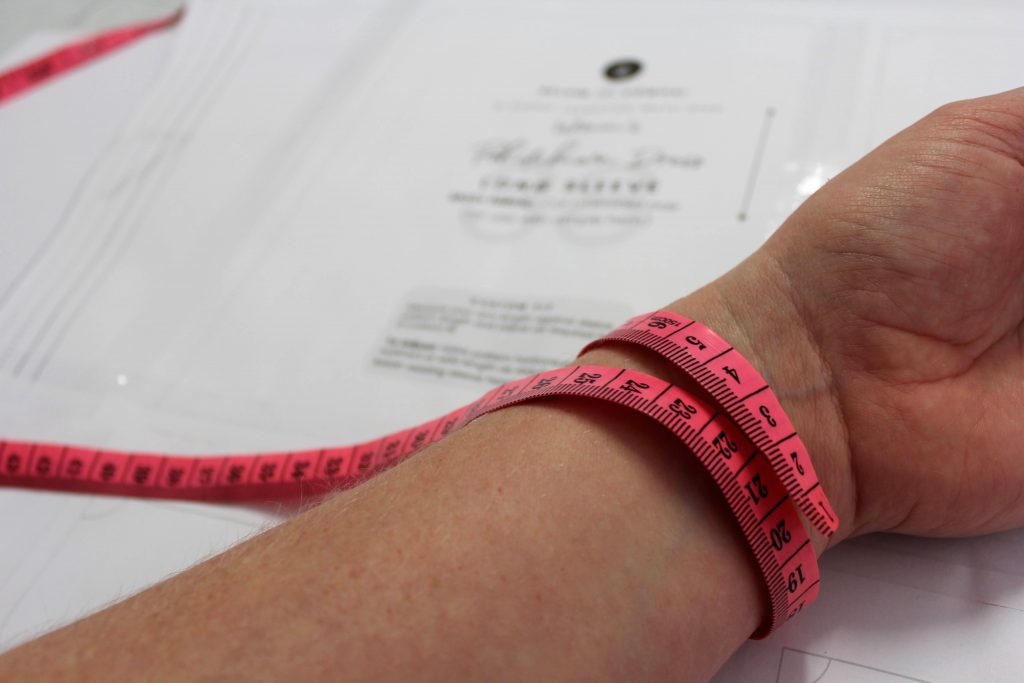
5.
Most knit garments have closer fitting sleeves, although this is completely personal preference. Measure your wrist to determine your size. My comfortable finished circumference is approximately 20cms.
6.
Add your seam allowance and measure from the centre of the pattern piece for a balanced sleeve.
Once these points are marked use a ruler to draw the new seams starting at the edge of the armscye and angling towards your makers.
Complete for both sides of the sleeve pattern. Don’t forget to shape the bottom as per the pattern to make your sleeve hem sit neatly.

7.
Remove 1cm (3/8″) seam allowance from the back piece and cut on the fold.
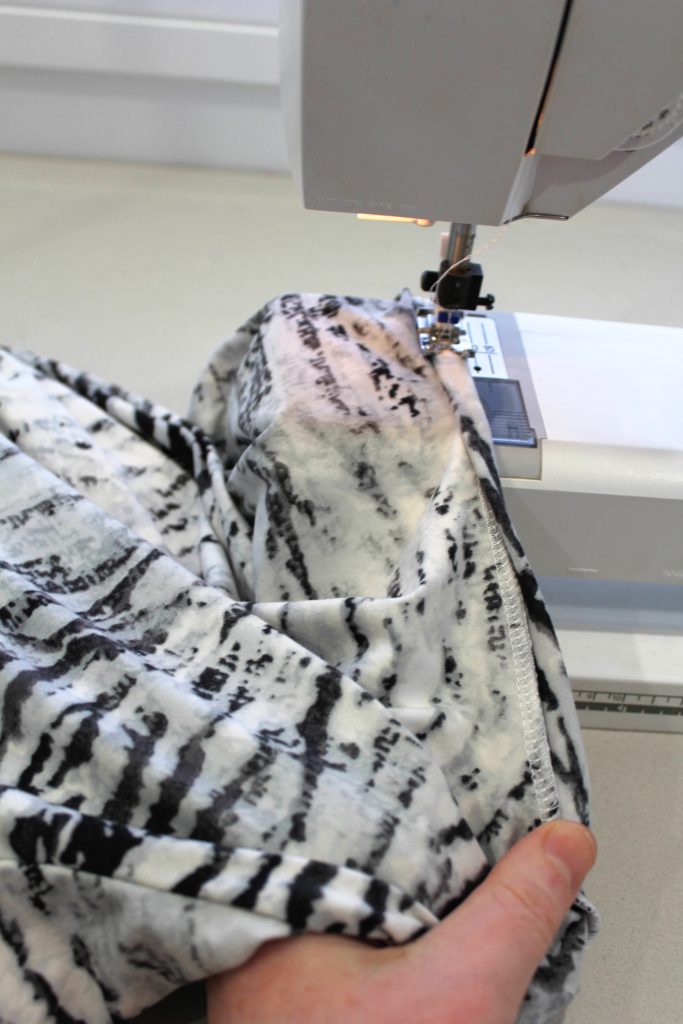
Construction
Assemble Knit Pōhutukawa Dress
8.
Sew/overlock shoulder seams together.
Insert the sleeves in flat/open.

Neck Binding
9.
A neck band or neck binding must be made with a fabric that has at least 50% stretch so it sits correctly. If your fabric does not have this, you should use a contrast fabric or ribbing.
To make your neck band or binding it will measure 85% of your opening.
My opening is 55cm.
55cm – 85 % = 46.75cm.
Don’t forgot to add your seam allowance!! I added 1.2cm. (0.6cm is a standard overlocking allowance.)
I created a neck binding and cut my rectangle 48.5cm x 6cm. Make sure the greatest stretch runs horizontally with the longest width.
A NECK BINDING will cover all seams and is made with a wider piece of fabric. I like to use a 6cm width piece of fabric.
A NECK BAND will show the neck seam on the inside of the garment and is made with a smaller width of fabric. I like to use 4-4.5cm width piece of fabric.

10.
Mark and pin quarters on your neckline and neck binding.

11.
Attach neck binding to the WRONG side of the neck opening. Sew/overlock together gently easing the neckline to fit. Do not stretch the binding.

12.
From the right side of the fabric, press the seam up and fold the binding over the seam to enclose all raw edges.
Stitch binding down with a twin needle or zigzag stitch.

Finishes
13.
Sew side seams together conttinusely from sleeve hem to bottom of the dress

14.
Assemble and attach ruffles.
15.
Hem bottom ruffle and sleeves.


Congratulations! Your knit Pōhutukawa dress is finished!
Thanks for the fabulous tutorial Rachel!
We can’t wait to see how you use this tutorial to create some beautiful knit dresses.
Show us your beautiful dresses in our VIP Community on Facebook or tag us on Instagram!
Or if you love what you see, grab the Pōhutukawa Dress sewing pattern and get creating!
Love and happy sewing,
Sophie x