


Our Kauri Dress sewing pattern comes with some of the most beautiful internal facings you’ll sew, but if lining is your jam then follow this tutorial for clean insides that spark joy with this Kauri Dress lining hack.
Thank you to Sarah Leas for creating this tutorial for our Below the Kōwhai sewing community.
To see more of Sarah’s creations you can follow her on Instagram at @homeschoolingmyheart or be inspired and support her local business @threadandfinch

1.
Get your copy of our best selling Kauri Dress sewing pattern.
Cut out Front + Back pattern pieces as usual.
Measure 10mm (3/8″) from the front notch. Mark and trim to remove the facing portion of the front piece.

2.
Cut out of your fabric:
Main: 2 x Front (mirrored), 1 x Back (on fold)
Lining: 2 x Front (mirrored), 1 x Back (on fold)
If desired, iron on a strip of interfacing to the wrong side of the Main Front pieces.
Complete step 1 & 2 of Kauri Dress Tutorial, excluding the back facing and including the lining.

3.
With right sides together, sew Front and Back bodice pieces together at shoulder seams for bodice and lining. Press seams open.
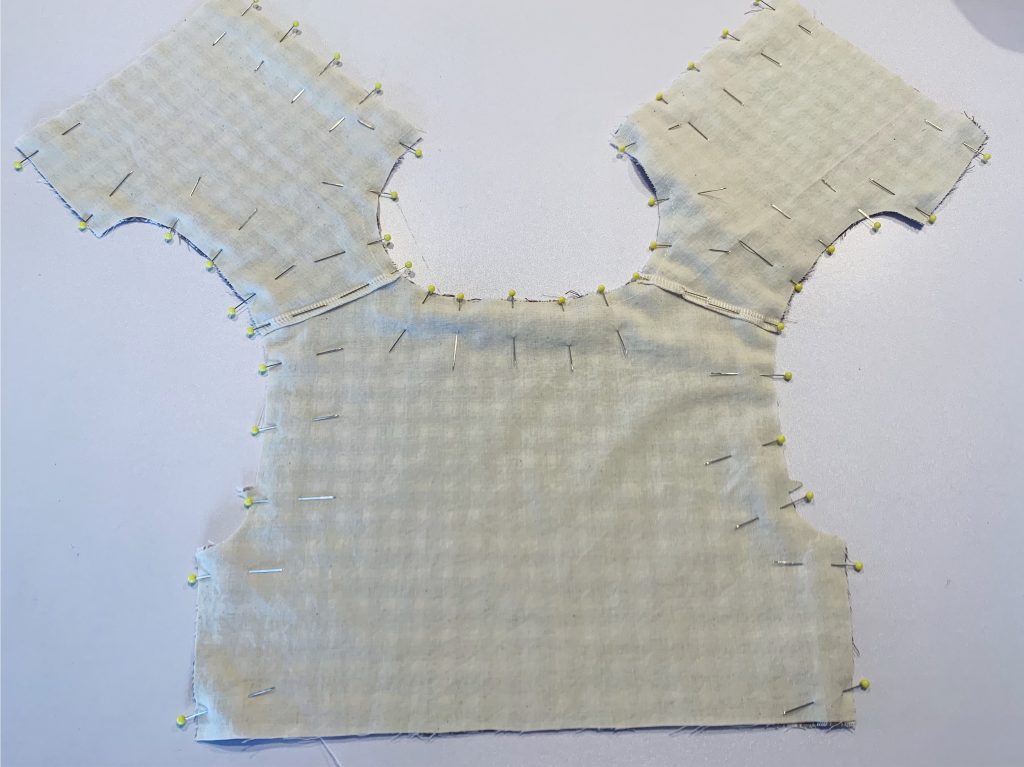
4.
Lay right sides together bodice Main and Lining. Pin around edges to secure in place.

5.
Using a 10mm (3/8″) seam allowance, sew up from the centre front bottom, around the neckline and back down to the other side.
Trim all corners and seam allowance and clip into neckline edge as per tutorial (step 7).

6.
Turn right side out and press neckline and front edge.
To continue, skip to step 11 of the Kauri Dress Tutorial.
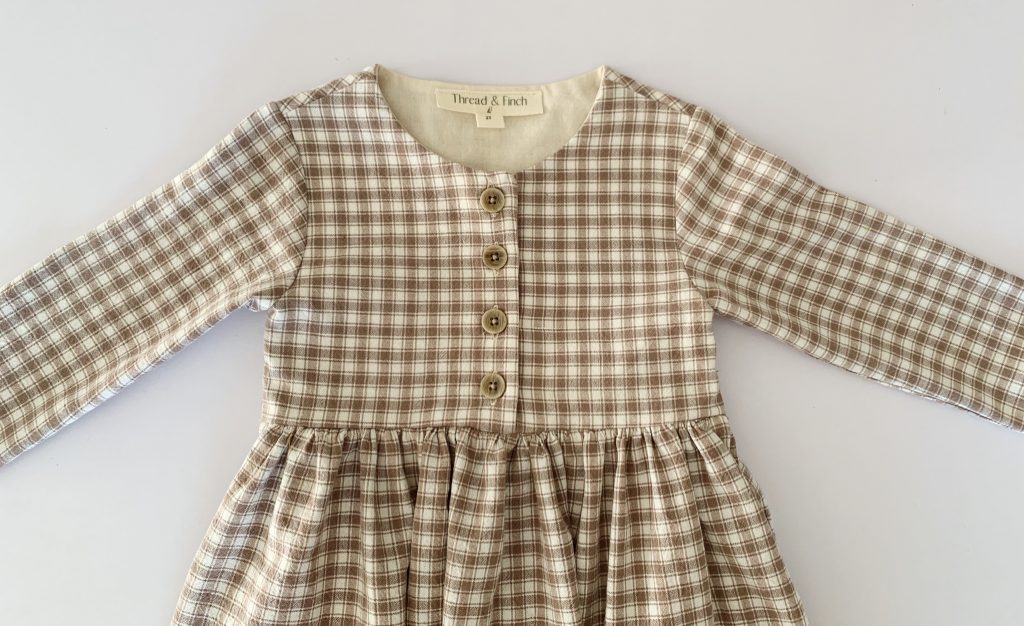
Congratulations! We would love to see your Kauri Dress lining hack, show us a photo in our VIP Community on Facebook or tag us on Instagram!
Love and happy sewing,
Sophie x