


Level up your handmade garments with a fully enclosed french seam.
Thank you to Anna Smith for creating this tutorial for our Below The Kōwhai community.
To see more of Anna’s sewing and family life visit @smithandbabes on Instagram.
A french seam fully encloses a seam so there is no raw, zig zagged or serged edge visible on the inside of the garment. It would look great on the inside of your Tui Pinafore, Mānuka Skirt and Kororā Dress, just to name a few!
The Original Seam
This tutorial will be specifically for a 10mm (3/8″) seam allowance as that is the standard seam allowance used in Below the Kōwhai sewing patterns.
If your pattern’s seam allowance is larger, divide it into thirds. Use 1/3 of it in step 1, and the remaining 2/3’s in step 4.

1.
Pin the fabric with wrong sides together. I know, this goes against your pattern instructions. Trust.
Sew a seam 5mm (1/4″) from the raw edge.
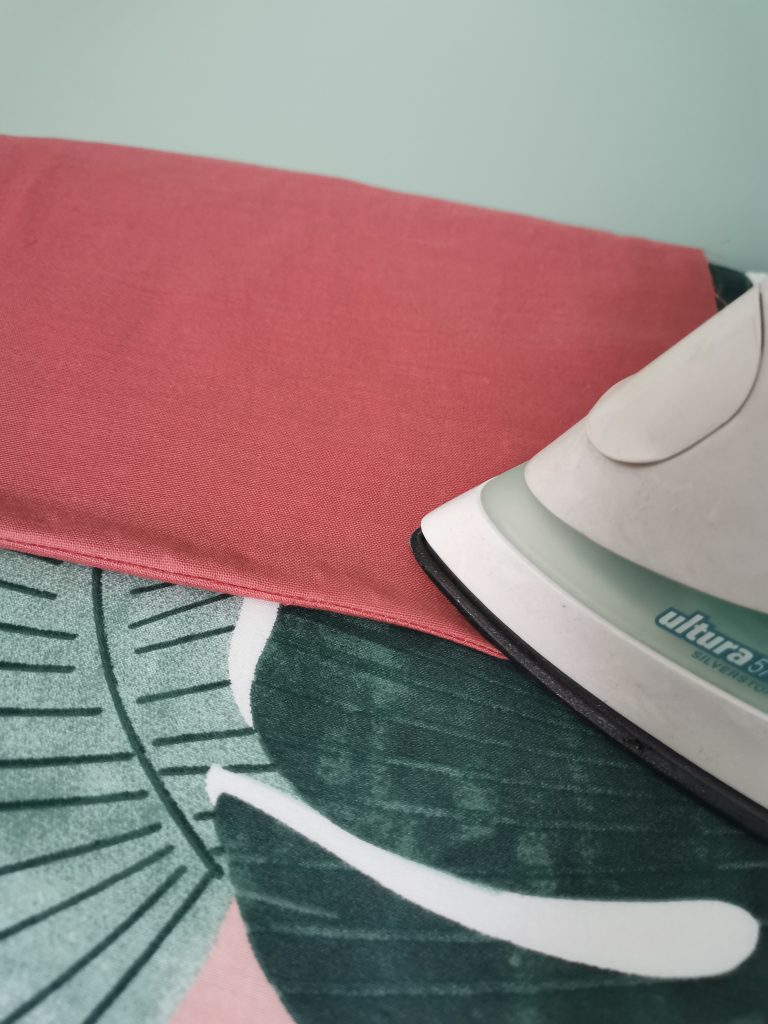
Press the seam with an iron to flatten and set the stitches.
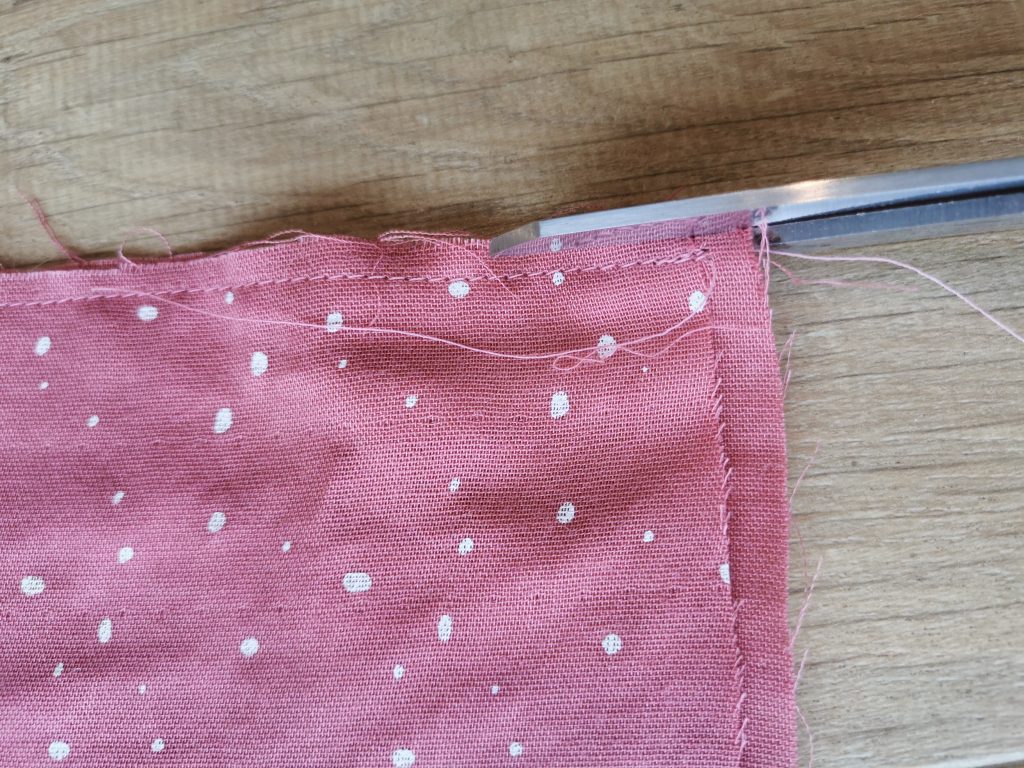
2.
Trim seam to 3mm (3/8″). Be careful not to trim into the stitching!

3.
Press the seam allowance to one side, this makes it easier to do a sharp edge in the next step.
4.
Turn fabric with right sides together and iron seam as tight as you can to stitches.
Sew the final seam line 5mm (1/4″) from the edge on the wrong side of the fabric.
Check the right side of the fabric for any stray threads and trim accordingly.
Press to one side, usually to the back of the garment.

Thanks for sharing Anna!
Show us your beautiful french seams in our VIP Community on Facebook or tag us on Instagram!
Love and happy sewing,
Sophie x